Just moved into your Aster shared ownership home and not sure what, how, or where to start with the garden? I transformed my plain, rectangular and boring new build garden into a flower filled haven.
When buying my new build shared ownership home, the only Pinterest board I had was for my garden ideas. We love spending time in the garden, so I knew this was the first job when we moved in.
So here’s how I planned and created my garden; hopefully it will help you with yours…..
Setting a realistic budget is key, as things soon start to add up. There is nothing worse than mid project, running out of funds! Also decide what you want your garden to be used for! Somewhere to chill on sunny afternoons? Somewhere fun for the kids? This will help you plan to suit your needs. You’ll see from my own experience that plans don’t always go to plan!
I started with Pinterest and Instagram, I had a look at what other people have done and started collating (on Pinterest) a mood board of my favourites.
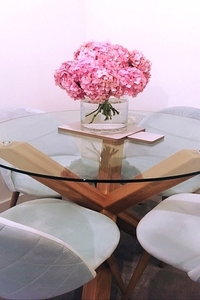
I knew I wanted to have flowers in this garden - I love being able to pick them for a vase in the house - so I set a colour scheme of purple, green and white. I had to add pink as I have 2 HUGE pink hydrangeas (check out my other blog on how to care for these – Bloomin’ Beautiful)
I spent a lot of time with my gran who is a self-taught gardener, who helped me learn about plants. We planted as many seeds as we could! This kept costs down massively, all you need is a sunny windowsill or greenhouse.
The other requirement that I had was raised flower beds, in order to keep things neat and tidy and to keep the dogs out of the plants. (There are a lot of poisonous plants for pooches!!!)
Here are some of my ideas collated on Pinterest –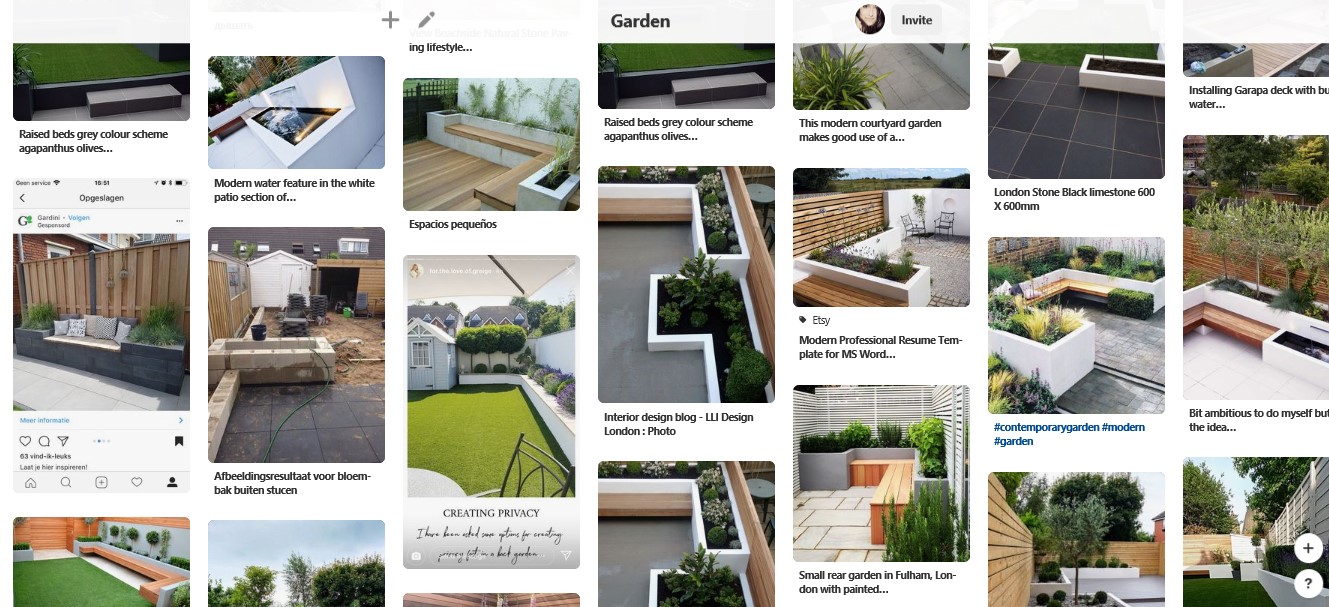
After consideration, we decided to go down the route of sleepers rather than concrete raised beds. This was to save time and money, plus the cost of a new patio to match the concrete beds was ridiculous when we didn’t actually mind the slabs laid by the builders. I had asked the builders while they were still on site for the make and name of the slabs so we could try and purchase some more.
Back to the mood board we went and started researching wooden sleepers. Now, I didn’t realise the variety of sleepers until researching this, and it can get very costly, so research is key! We went for treated green wood for longevity, but you can get all sorts of colours and styles depending on your budget.
When they arrived they were GREEN, however fear not, they have faded. We decided to go for 2 and a half sleepers high, so we laid one flat to the ground and two on top - this was to steady the bed. We also cut cost by not putting sleepers around the back by the fence, and instead we used plastic. The purpose of this is to stop the moisture getting to the fence as it will rot (which your neighbours won’t thank you for!)
We also managed to source more patio slabs, so we extended the patio and added a path down the side of the house. I would suggest talking to your neighbours as sometimes the slabs can only come in a palette load which may be more than you need, so potentially you can split the load and the bill.
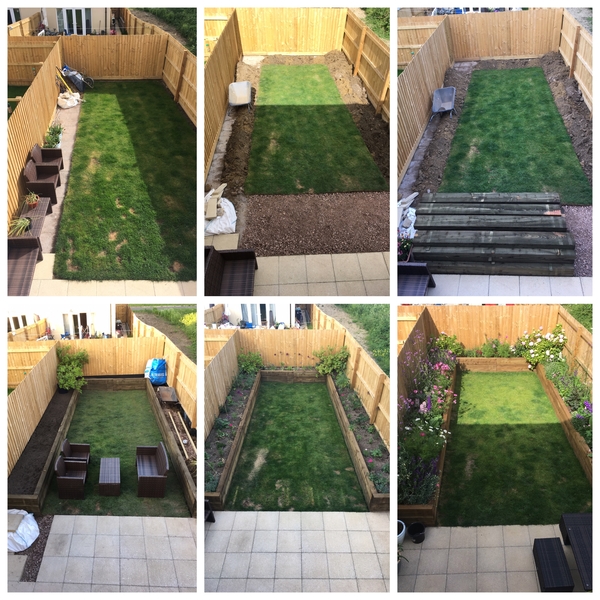
This is where the fun started; time to plant all of the plants we had grown from seeds. I tried to keep things natural with some symmetry, however, the left side of the garden is exposed to more sun and has grown uncontrollably! This is all part of learning though, and next summer I will plant less in the raised beds. Have fun experimenting and learning, as I had no idea what some of the plants we grew would be like, so if you don’t like them, just don’t grow them next year for annuals or dig them out if perennials.
The garden is now a beautiful social space, or a spot for a quiet afternoon. I love picking the flowers too!
Why not check out our Pinterest board for some garden inspiration?
If you are an Aster shared owner don’t forget to tag us into your garden social media posts with #ThisSOthing for your chance to win £250 voucher


.png)